1.2. Example of usage
This example will serve as a hands-on tutorial, aimed at introducing some of the key concepts and features that
eProsima DDS Record & Replay replay application (DDS Replayer or ddsreplayer) has to offer.
1.2.1. Prerequisites
It is required to have eProsima DDS Record & Replay previously installed using one of the following installation methods:
Additionally, ShapesDemo is required to publish and subscribe shapes of different colors and sizes. Install it by following any of the methods described in the given links:
This is a follow-up tutorial, and assumes that DDS Recorder Example of usage has already been completed.
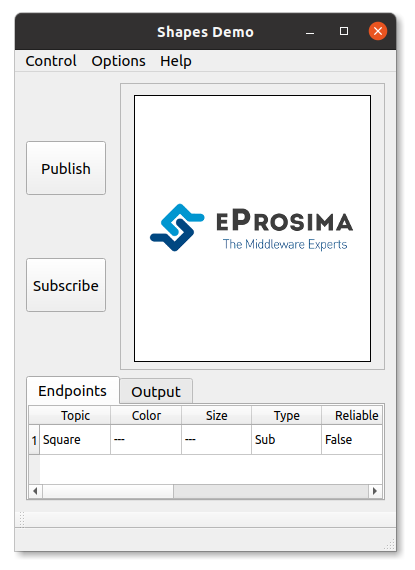
1.2.2. Start ShapesDemo
Let us launch a ShapesDemo instance and create a subscription in the Square topic with default settings.
1.2.3. Replayer configuration
The only configuration option required by a DDS Replayer is the path to an input MCAP file, which can be provided both as a CLI argument or via YAML configuration.
By default, all messages stored in the provided input file are played back in DDS Domain 0, starting at the very moment the application is launched.
It is also possible to change the default configuration parameters by means of a YAML configuration file.
Note
Please refer to Configuration for more information on how to configure a DDS Replayer.
1.2.4. Replayer execution
Launching a DDS Replayer instance is as easy as executing the following command:
ddsreplayer -i output_YYYY-MM-DD-DD_hh-mm-ss.mcap
In order to know all the possible arguments supported by this tool, use the command:
ddsreplayer --help
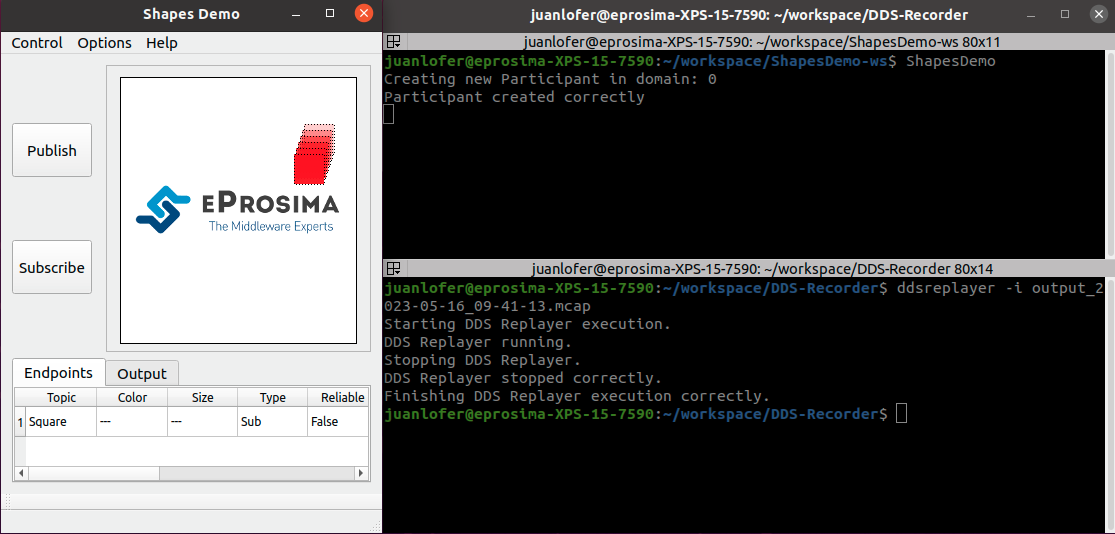
Execution will end once every message found in the given input file is played back, although it can also be terminated with Ctrl+C at any point.
1.2.5. Next Steps
Feel free to experiment with the many configuration options available for a DDS Replayer instance.
For example, you may try to modify the playback rate, block/allow the Square topic in the middle of execution, or set a different topic QoS configuration via the builtin-topics list.